Grade Level
5-8
minutes
1-3 hours
subject
Engineering and Tech
Activity Type:
robotics, conservation, engineering and design challenge, exploration
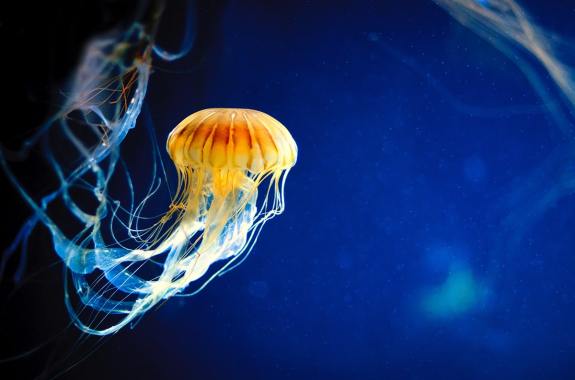
Look at these creatures in the water. What do they look like? What do you notice about them? What questions do you have about them?
You might have noticed that they don’t appear to be particularly stiff; they seem to dip and wave in the water. These creatures are sea jellies, commonly referred to as jellyfish, whose name refers to the gelatinous and sweet jelly we use on sandwiches and in desserts.
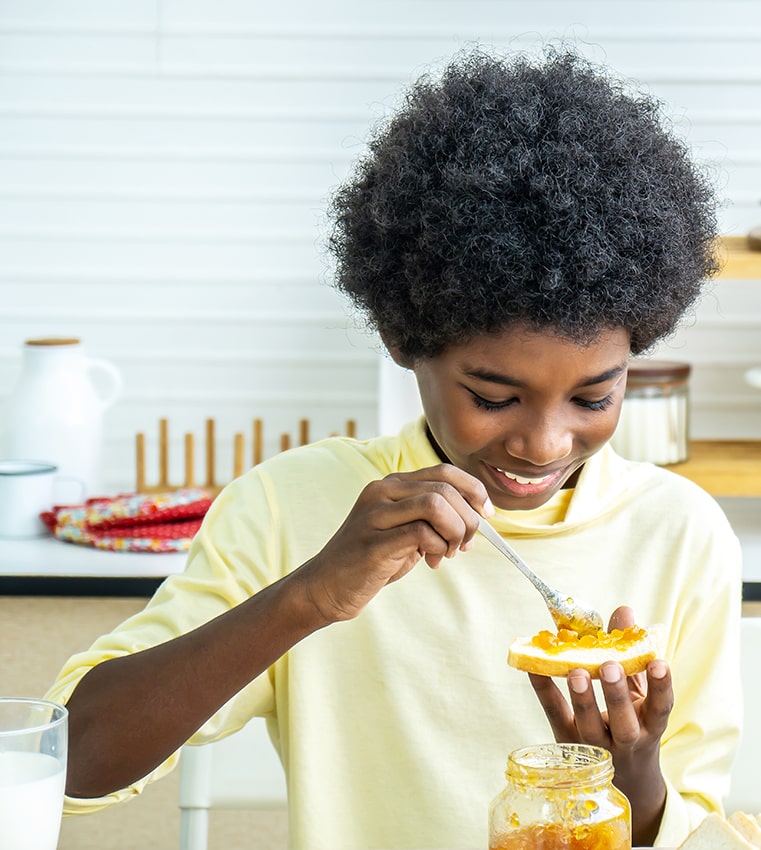
Remember spreading your favorite strawberry jelly over toast? How would you describe that jelly? Slimy? Wiggly? Ever notice how the jelly can hold a glob-like shape, but easily smooshes into the bread? Or how it seems to slide off a knife (especially when the jar is almost empty), but when it lands on your pants, it’s also impossible to pick up with your fingers without smearing it into the fabric?
The jellyfish in the ocean share a number of characteristics with the jelly in your refrigerator. And that’s a pretty big problem for someone like David Gruber, a professor of biology who studies jellyfish at City College, New York. How do you catch and hold a fragile blob creature without crushing, squishing, or damaging it in some way? And how do you do it underwater?
In this activity, we’re going to figure out ways to study delicate animals by constructing a model of a jellyfish and engineering a device to help safely capture them.
This resource was created as part of the Science Friday Educator Collaborative. If you are implementing this in the classroom, please check out the Educator’s Guide and the accompanying folder of resources.
The Dish On The Fish
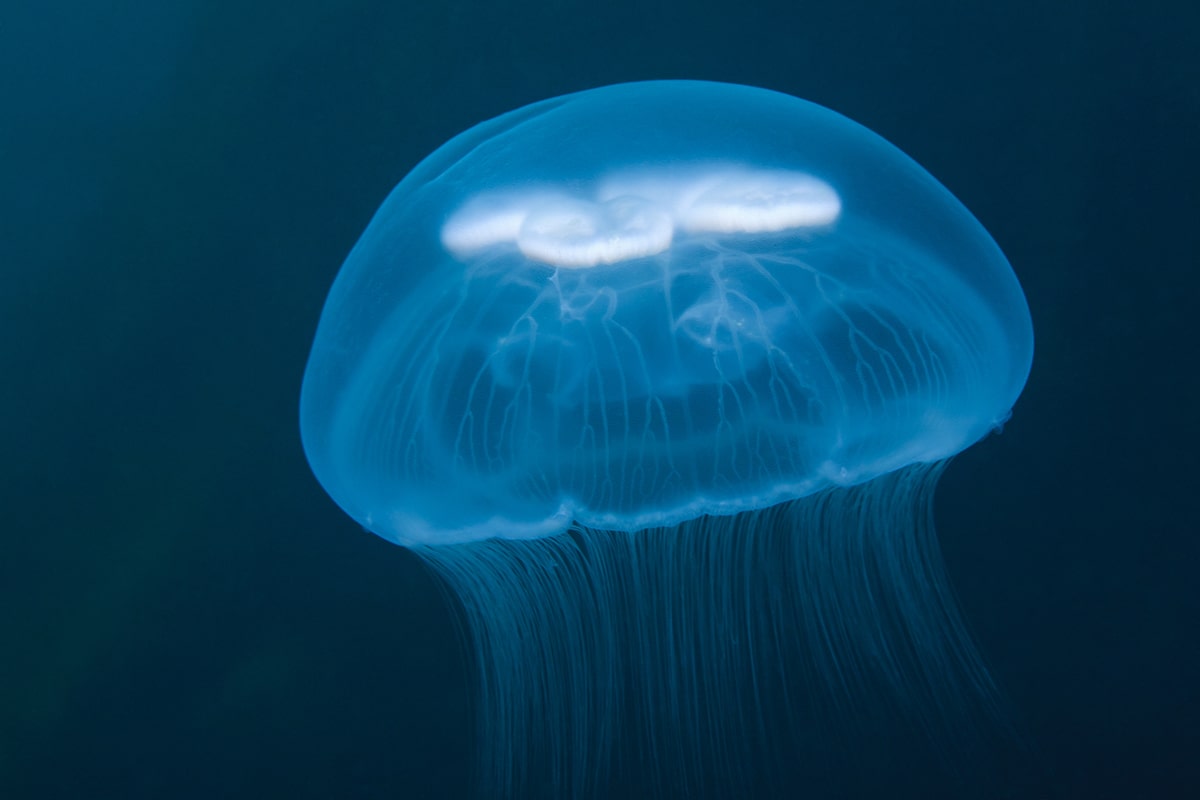
Actually, jellyfish are not fish at all! They are invertebrates, which means they have no spine (and are more closely related to sea anemones than any fish species). They are composed mainly of water and, because of their structure, they aren’t very mobile. Instead, they mostly drift with the ocean’s currents. Though small, jellyfish can be dangerous. They have stinging tentacles they can use to paralyze their prey, and some species can be poisonous enough to kill a human. You can find jellyfish when you’re swimming at a beach, or deep-sea diving a mile under the surface. Some will light up with natural bioluminescence when you get close to them as a way to ward off predators.
Check out amazing jellyfish in action in the playlist below. While you’re watching, write down anything you notice (observations) or wonder (questions) about jellies on your Jelly Capture Worksheet.
Activity 1: Make A Sea Jelly Model
If we’re going to design a device to capture a jellyfish, we’re going to first need a model to test it on. After watching the videos linked above, keep in mind what you think a jellyfish should feel and look like. We will be using Jell-O to make our models because it contains gelatin. Gelatin is what gives Jell-O that jiggly nature. We’ll start by mixing Jell-O powder with hot water, which allows the collagen protein bonds of the gelatin to break down. When we reintroduce cold water and let the mixture cool, those bonds reform into a delicious treat AND a great jellyfish model.
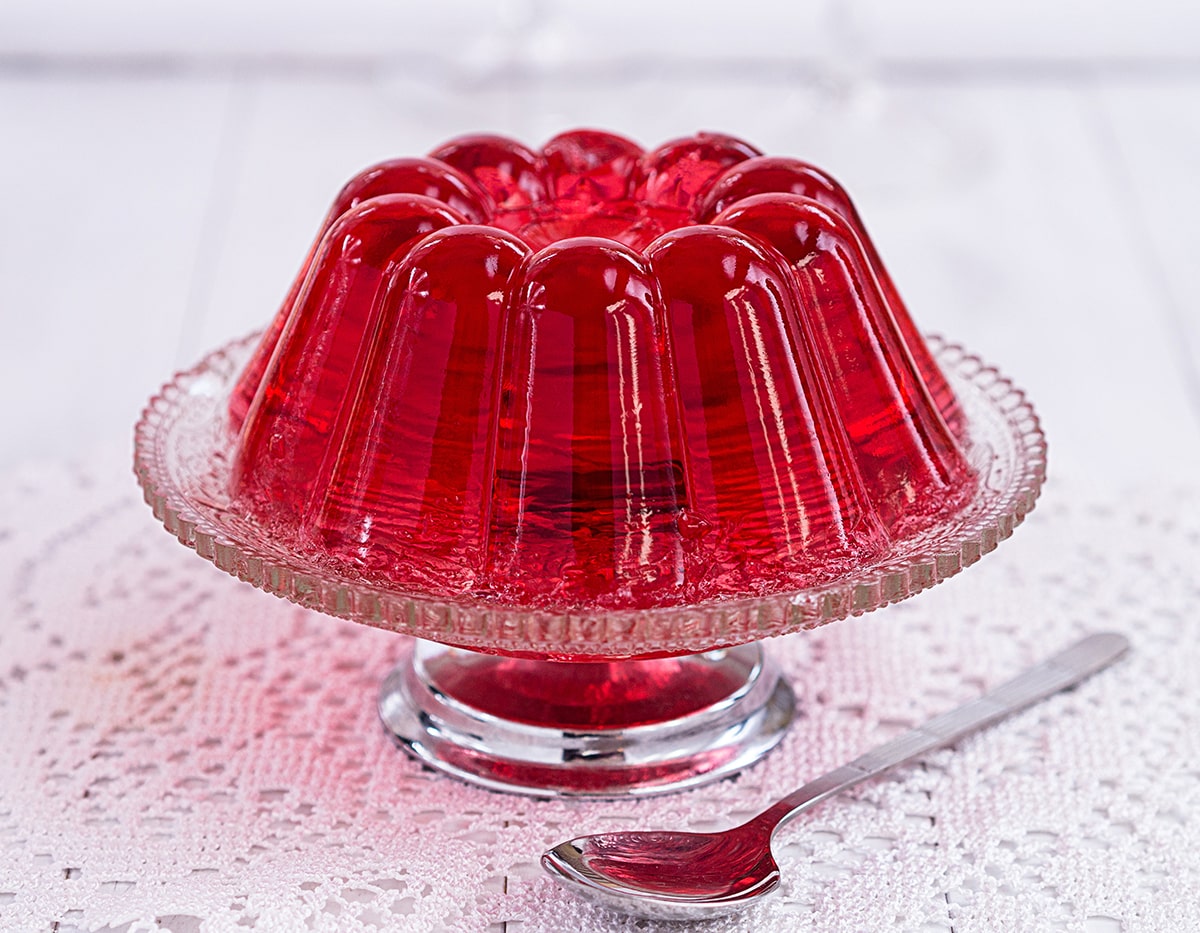
Experiment with the ratios! What happens if you use more hot water? More or less cold water? Set the mold in a small bowl? A large bowl? What texture do you think is best for a jellyfish model?
Base Materials
- 1 six-ounce box of Jell-O (or a gelatin-free alternative such as Agar Agar)
- 1 ½ cups boiling water (wait until you’re ready to mix)
- 1 ½ cups cold water
- ¼ cup for measurement
- Teaspoon for measurement
- 3 round bowls of different sizes
- Cooking oil spray (for coating bowls)
- Spoon
- Jelly Capture Worksheet
Create Your Sea Jelly Model
- Divide the Jell-O powder equally into the three bowls (if you want to be very accurate, measure the total mass (g) of the powder and divide by three to find the amount of power to go in each bowl).
- Decide how you want to experiment with the ratios of hot to cold water, bowl sizes, or time to set in the fridge before you begin. The standard recipe is provided for bowl #1 below, be sure to include some hot water to dissolve your gelatin powder and a minimum of 1 hour to set in the fridge. Write these variations down on your Jelly Capture Worksheet.
- In bowl #1, mix ¼ cup boiling water with the Jell-O powder until the powder is dissolved. Add 8 teaspoons of cold water.
- Put the bowl in the fridge and wait until fully set (approximately 1 hour).
- Create bowls #2 and #3 using the instructions and variations you decided on in step two, be sure to use some hot water to dissolve your gelatin powder.
Pro-Tip: Use multiple types of Jell-O to make a tastier treat to eat after a hard day of scientific investigations.
Jelly Model Reflection Questions
Think about these questions and write down your responses on your Jelly Capture Worksheet.
- Which jellyfish model did you keep? Why?
- Do you feel like this was an accurate model for a jellyfish? Why or why not?
- What can you change about the recipe to make it more accurate or realistic?
- What are the limitations of your sea jelly model?
- Try picking up your jellyfish replica. Is it hard to pick up? Why would it be problematic to use a hand-like grabber (see the hydraulic manipulators in this paper) to pick up a jellyfish?
- What type of damage occurred to your model? How might this affect a jellyfish?
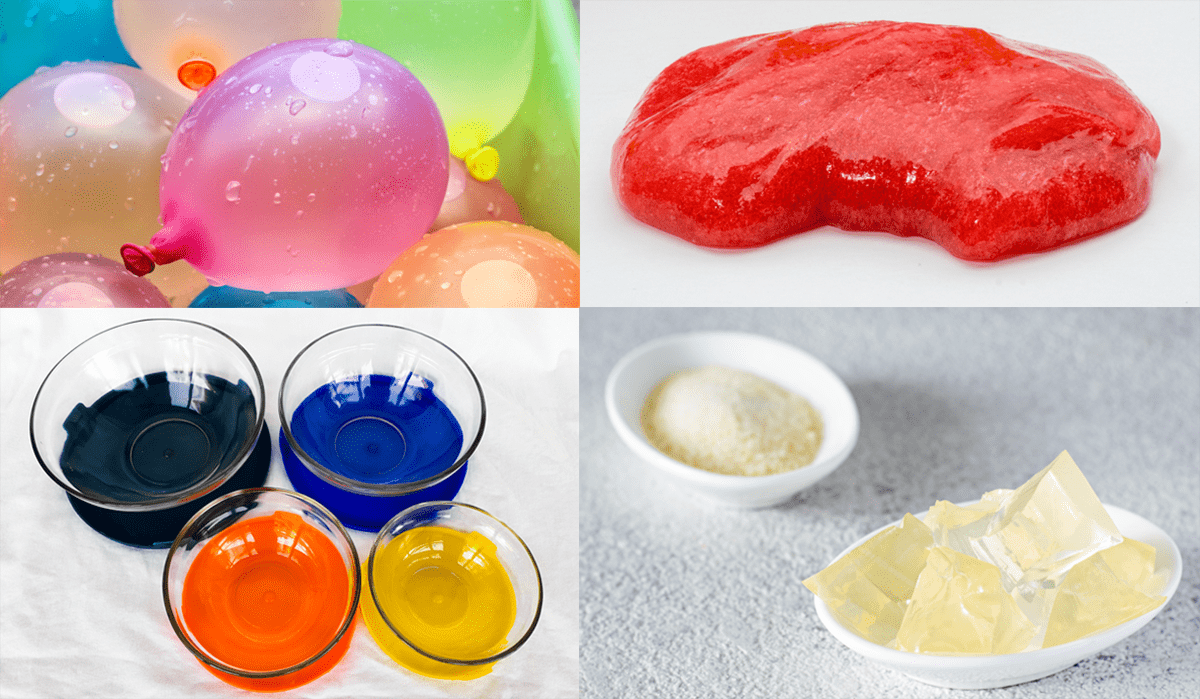
Other Sea Jelly Model Variations To Try
Did that model work out for you? Was it too slimy? Not slimy ENOUGH? What else could you use to model your jellyfish? Differently molds? Try using things like agar agar, water balloons, borax, and other slime makers and shapers. The ocean’s the limit!
No Spine, No Brains? No Problem!
Remember David Gruber, the biologist who wants to figure out a way to capture and study sea jellies without damaging them? Now that you’ve learned more about the nature of jellyfish bodies, you can see why they pose a problem to scientists who want to learn more about them. Just as the gelatin models would fall apart when handled, so would jellyfish. They are so fragile that taking them back to the lab can cause serious damage to the animals.
Gruber thought that the notion of harming sea jellies for the sake of science was not only sad but also the exact opposite of our job as scientists; we should be protecting the animals we study. Here he is on an interview with Science Friday host Ira Flatow:
Soft Robot Gives Jellyfish A Hug
Activity 2: Design A Sea Jelly Capture Device
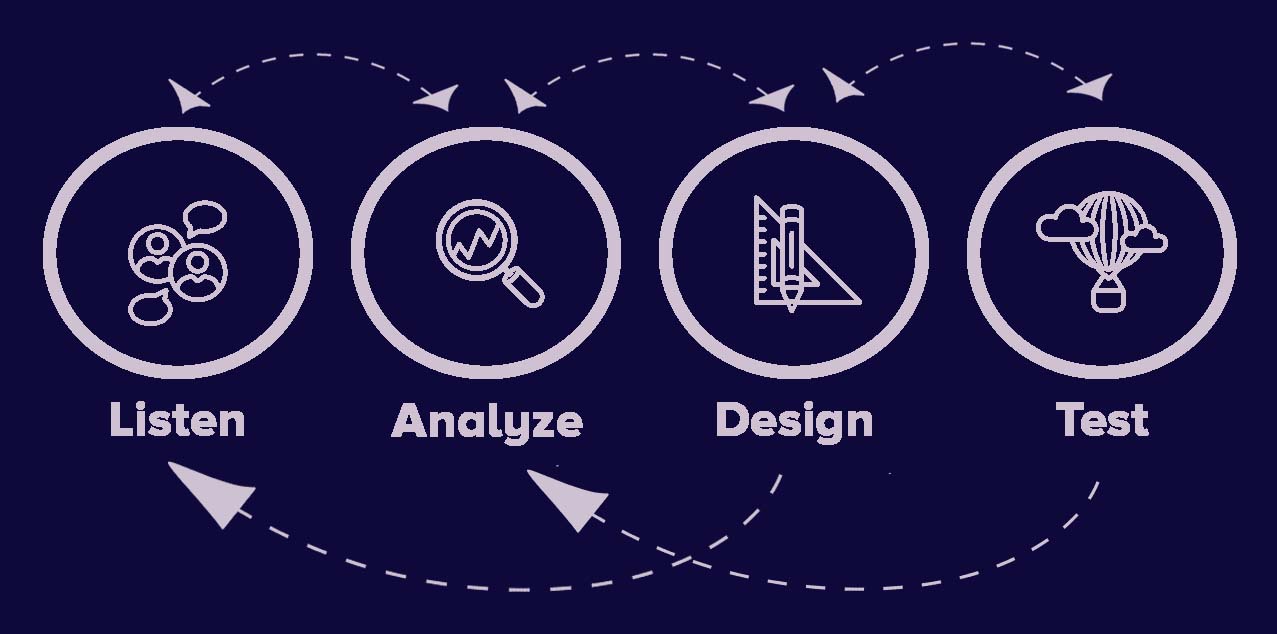
How would you make a device to grab your sea jelly model without harming it? One way to approach this question is to use the engineering design process, pictured above. We’ve already completed the first two steps—we learned more information about sea jellies and the current way they are captured, we also have a better understanding of our problem and constraints. Using your Jelly Capture Worksheet, we will move through the design process.
Take a moment to put your thinking down using the prompts below:
Stage 1: Listen and Analyze
- Based on the information we learned from David Gruber, identify the problem and put that in your ‘Listen’ box.
- What do we know about sea jellies? What else do we need to learn? Add this information into your ‘Analyze’ box.
- What do we need to know about the ocean environment? Research and add this information to your ‘Analyze’ box.
Step 2: Design
Based on the information you gathered about sea jellies and the ocean environment, what are some important constraints that you need to keep in mind when you design? Keeping your best sea jelly model in mind, ask yourself, what are some important things to have in your design? For example, ‘cannot have hard edges’ could be a requirement because it might damage the jelly.
- What are some important constraints you need to keep in mind when you design?
- What would make your capture design a success?
- What are important things to have in your design?
Brainstorm possible designs for your sea jelly capture device.
Here are some techniques that might inspire you! Take notes on anything you might want to incorporate.
Develop your plan.
- Take a look through the materials or recyclables you have to use.
- Once you have an idea, start drawing out your design. A good design should be clear and replicable. Be sure to label any important materials you are using. Do you have specific measurements you need to label? Is your grabber nine inches long or nine meters long?
- Finally, write out any important steps for your design.
Build your grabber.
Using your materials, create your initial grabber. It’s okay if it doesn’t look exactly like your design. We will have plenty of time to improve.
Stage 3: Test
Fill up a bucket or any clear container with water and gently place your jellyfish model in it. You can now test your grabber!
As you work, think about the answers to the following questions:
- Were you able to successfully pick up your jellyfish?
- Was the jellyfish damaged in the process? How can you tell?
- What worked about your design?
- What can you improve about your design?
Stage 4: Improve and Repeat!
Each time designers and engineers test or use something they’ve created, they evaluate how it performed, think about ways to improve it, and then adjust their design. Take a moment and draw how you will remake your capture device on your Jelly Capture Worksheet. Make sure to label important parts. If you have a chance, create another jelly model and retest your design.
Grabber Design Reflection
Think about these questions:
- How effective do you think your design was overall? Why?
- If your jellyfish model were a different size, how would you adapt your tool?
- If you had unlimited materials, what would you use to build your jellyfish capture device?
- What are the limitations of our test? How can we improve it?
- Why is it important to do our best not to harm the animals we study?
What Kind Of Grabber Did David Gruber's Lab Design?
Are you curious how David Gruber’s lab solved this problem? Check out their process and solution:
Reflection Questions
Think about these questions and write down your responses on your Jelly Capture Worksheet.
- What did David Gruber and his team do?
- What are the benefits of their design?
- What are the limitations of their design?
- Seeing what Gruber and the team created, what new ideas do you think you might want to try?
Gruber and the team have not stopped developing soft robots that might help capture delicate sea creatures without damage. The tests leading up to this design allowed the team to look at the mechanics of the device, but since then they’ve been able to look at stress markers in captured jellies and found significantly less stress in captured creatures.
Next Generation Science Standards
This resource works toward the following performance expectations:
- MS-ETS1-1: Define the criteria and constraints of a design problem with sufficient precision to ensure a successful solution, taking into account relevant scientific principles and potential impacts on people and the natural environment that may limit possible solutions.
- MS-ETS1-2: Evaluate competing design solutions using a systematic process to determine how well they meet the criteria and constraints of the problem.
- MS-LS2-5: Evaluate competing design solutions for maintaining biodiversity and ecosystem services.
Credits:
Written by Brandon Lee
Edits by Abigail Holstein and Xochitl Garcia
Reviews by Stacey George, Sergio Estrada, and Svea Anderson
Digital production by Xochitl Garcia
Meet the Writer
About Brandon Lee
@k5_engineeringBrandon Lee is the director of projects at the Khan Lab School in Mountain View, California. He works with teachers and students to develop an innovative project-based curriculum that challenges students to think critically and develop creative solutions.
