Change Up Your Homemade Ice Cream Recipe With Chemistry
Looking for dairy-free or low-sugar ice cream recipes? A chemist gives tips and substitutes to customize your favorite frozen treats.
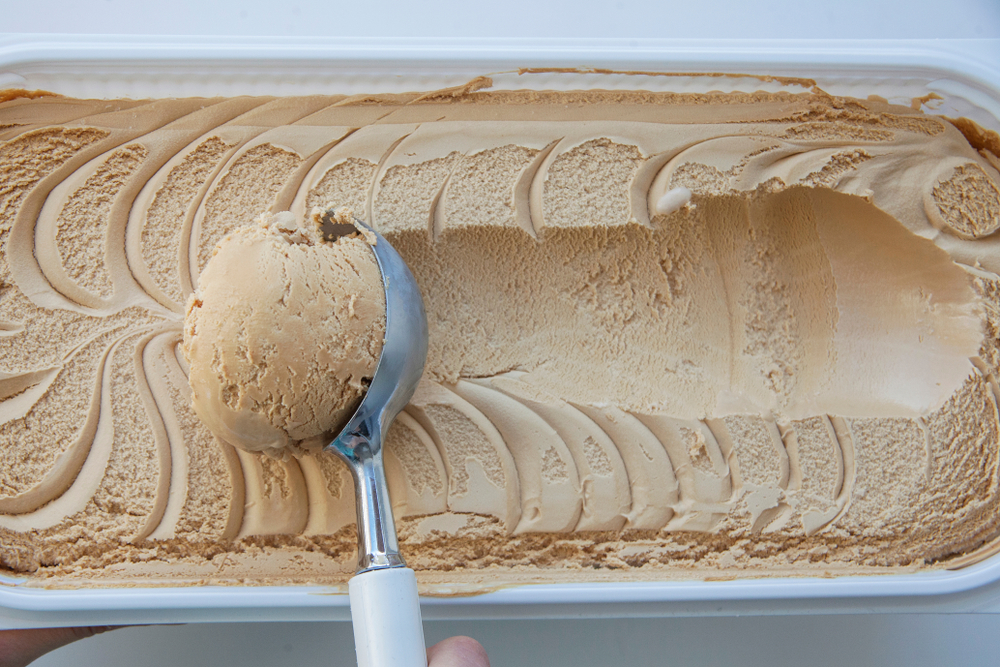
Nothing says hot summer days like a scoop of one our favorite frozen desserts: ice cream. If you want to indulge in your own homemade recipes, chemist Matt Hartings gives you permission to play with your delicious chilled masterpieces.
“I know that we were all told as kids to not play with our food. But, messing around as we cook it is a great way to make our food a little better, and a phenomenal way to do and learn a little bit of chemistry,” says Hartings, an associate professor of chemistry at American University and author of Chemistry in Your Kitchen.
Concocting the creamiest, smoothest batch of ice cream comes down to the interactions between the tiny, little particles—the chemicals—that make up all our food, Hartings explains to Science Friday.
“They wiggle; they wobble; they interact with all of the other molecules that they come into contact with,” says Hartings. “Exploiting these molecular hookups is the key to making any meal better. And we’re going to look at how that’s done with ice cream.”
Below, Hartings writes how you can boost your homemade ice cream recipes—with a helping of chemistry.
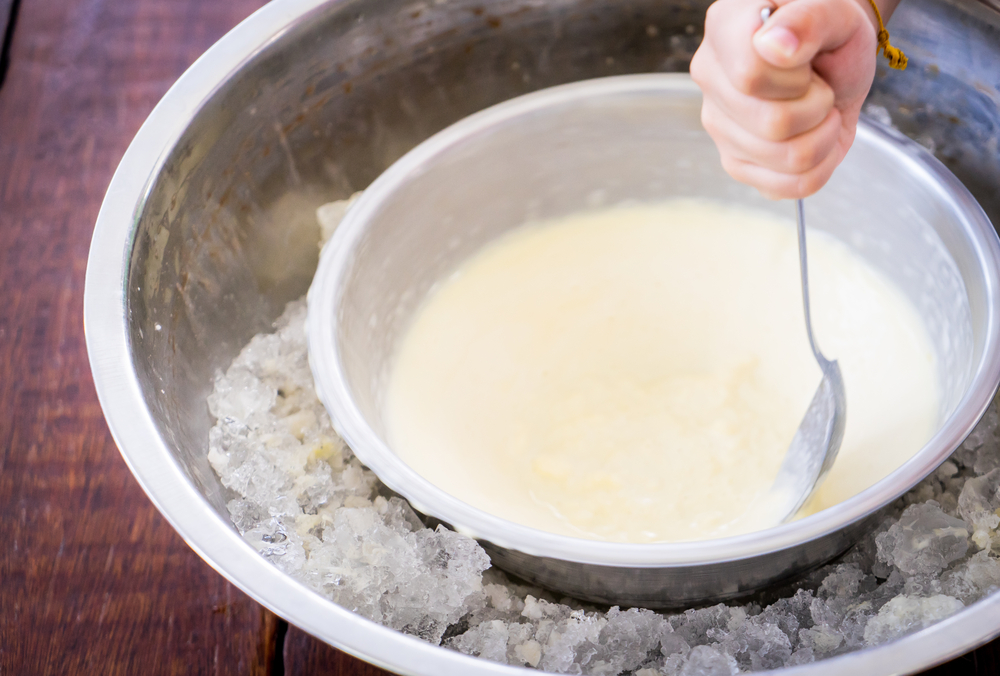
There are loads of ice cream recipes out there, and some of them are probably pretty perfect the way they are. But we’re going to dive into one recipe to look at all of the important parts, and discuss what we can do to change the recipe up a little bit. It’s a good way to understand how each ingredient needs to be handled when we make ice cream. It’s also a good way to know how to approach a recipe when we have a dietary restriction, food allergy, or if we want to try something new.
Basic Ice Cream Recipe
Ingredients:
Directions:
Before we start to play with our ice cream, we need to shrink down and see what kinds of chemicals we’re working with. For simplicity, we’ll break these down into the types of molecules listed on a nutritional label. These include carbohydrates (combination of starches, dietary fiber, and sugars), fat, and protein.
A good ice cream (a super creamy ice cream) is going to have small ice crystals. Imagine a solid chunk of half-and-half pulverized into a zillion (very technical term) microscopically-tiny pieces. That’s what we’re going for. To make this happen, we need to keep those water molecules from doing what they want to do: hang out with other water molecules.
At room temperature, water molecules have so much energy that they zip past one another, twirling and swirling around, slowing down just enough to give one another a water-molecule version of a high-five. As the temperature drops, the water molecules stop for a bit longer to dance with one another. Even lower (freezing temperatures) and they’ll all huddle together and make an ice crystal.
Before we start to freeze our ice cream, the water molecules are, to an extent, separated from each other by all of the other ingredients. We’ve got two options for making small ice crystals in our ice cream:
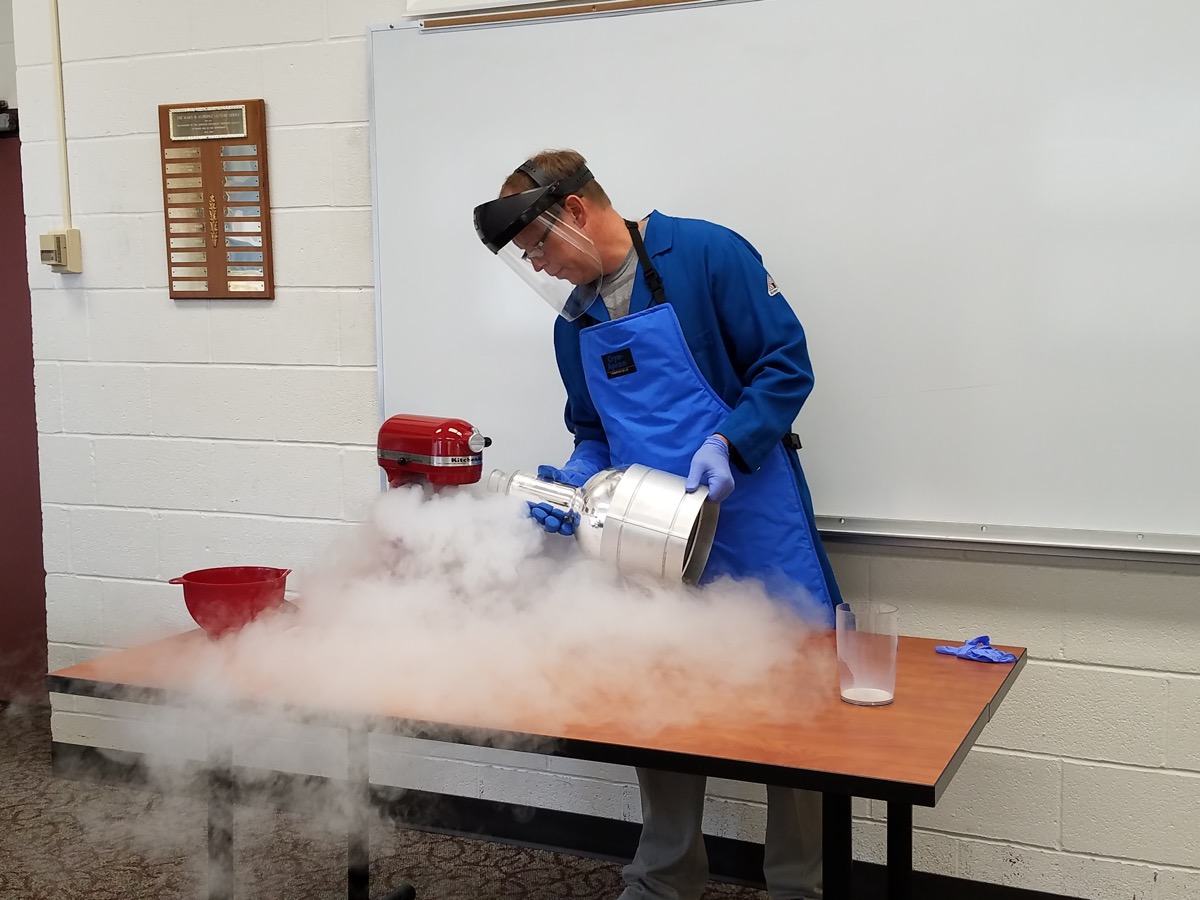
Option 1: Freeze our ice cream really quickly so those water molecules don’t have a chance to move around and find other water molecule friends to freeze with. This option is great… if you’ve got access to a restaurant-grade ice cream maker or some liquid nitrogen.
Option 2: Use an additive to slooooooooow the water molecules down so they can’t get to one another. This is what most people use when they make their ice cream, and where those egg yolks come in handy.
The proteins in the egg yolks, when you heat them just the right amount, make a mesh network (the base of any good custard) to keep the water from zipping around too fast. This is the first place where many people look to change up their ice cream recipes. And, in the food chemistry world, there are lots of easy-to-find options! Try cornstarch or gelatin. Other options like xanthan gum, guar gum, locust bean gum, and lecithin can be used, too.
The trick to any of these ingredients is that they need to be properly hydrated before you use them. For cornstarch, that means heating in milk until thickened (think of homemade pudding). For gelatin, that means melting the gelatin into water. If you’re going to try and use one of these other additives, pay attention to how the manufacturer says they should be used (and in what amounts) for the best results.
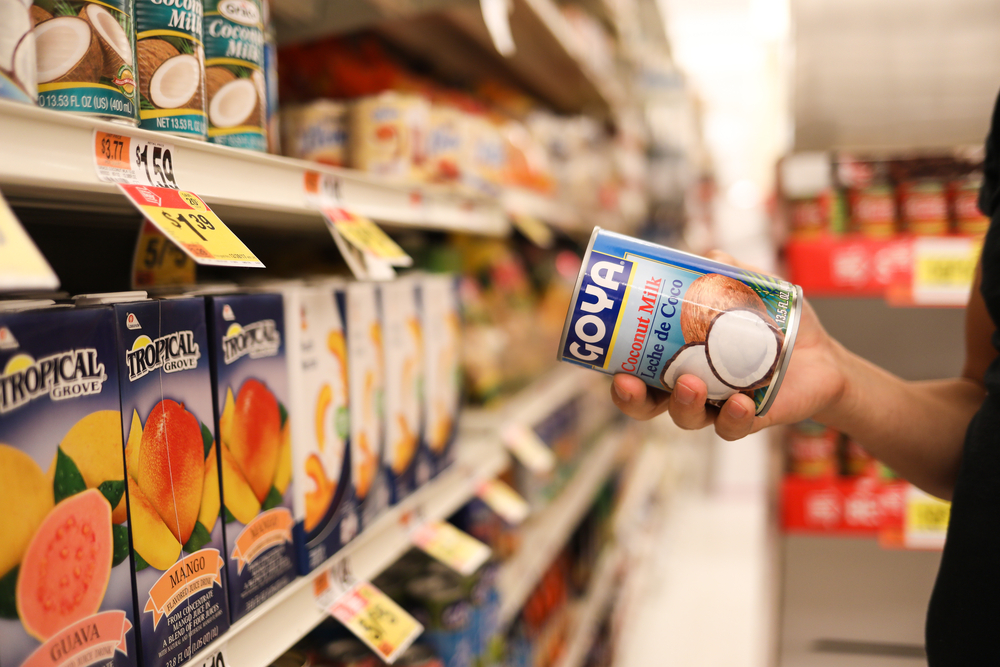
The other big changes that some people make with their ice cream is swapping out the cream for coconut milk, almond milk, or other dairy substitutes.
There are a couple things to be careful of here. First, you want the final fat content to be close to what is listed in the base recipe listed above. That fat is a big part of the texture and you need to keep that balance. (Note: in low-fat/no-fat recipes, the creaminess of the fat is often replicated by adding cornstarch or other substitute.)
This means that you need to pay attention to the packaging when you buy your coconut milk, for example. We’ve got roughly 85 grams of fat (from the cream) in 960 total grams of ice cream. We want to keep that ratio as we go to change our recipe. As you get comfortable using different ingredients, you can move the amounts of fat lower and lower (or higher and higher). At the start of your experimenting, I’d suggest keeping close to the amounts listed.
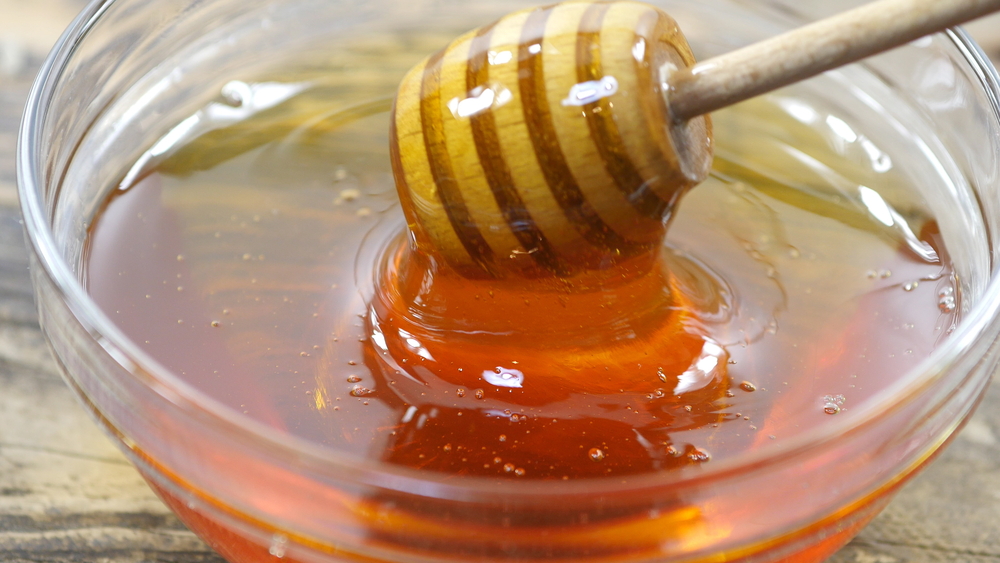
The final change that people make is the type and amount of table sugar used. The sugar in this recipe is important for a number of reasons. It’s sweet and delicious! But the sugar also keeps the freezing temperature of water lower than it would regularly be, keeping the ice cream scoopable.
If you want to replace the table sugar, you’re going to need to add something sweet and something that will keep the freezing point low. There are certainly many sugar substitutes that you can find at your local grocery store. Stevia, honey, agave nectar, erythritol, and xylitol, to name a few. Alcohol will also keep your ice cream from freezing solid in the freezer, but do be careful with how much you add. Too much alcohol and your ice cream won’t freeze at all.
Once you’ve mastered the base that you want—and understand how all of those molecules get along with one another—adding other ingredients and flavorings should be a breeze! The best part about doing a little experimentation with your recipes is that even if it doesn’t turn out the way you want, it’s still probably going to be pretty tasty. You get to eat your successes and your failures.
So go out and play with your food! No one will yell at you!
Invest in quality science journalism by making a donation to Science Friday.
Lauren J. Young was Science Friday’s digital producer. When she’s not shelving books as a library assistant, she’s adding to her impressive Pez dispenser collection.