Grade Level
All
minutes
1- 2 hrs
subject
Life Science
Activity Type:
food experiment, experiment, proteins, denature, cheese making
On average, Americans annually consume more than 20 pounds of cheese per person. That is a lot of cheese, and it all comes from animal-based milk! But how does milk, which is a liquid, become cheese, which is a solid? Let’s figure it out by trying the process ourselves. Yep, we’re going to make CHEESE.
Where the cheese-making process starts: milk
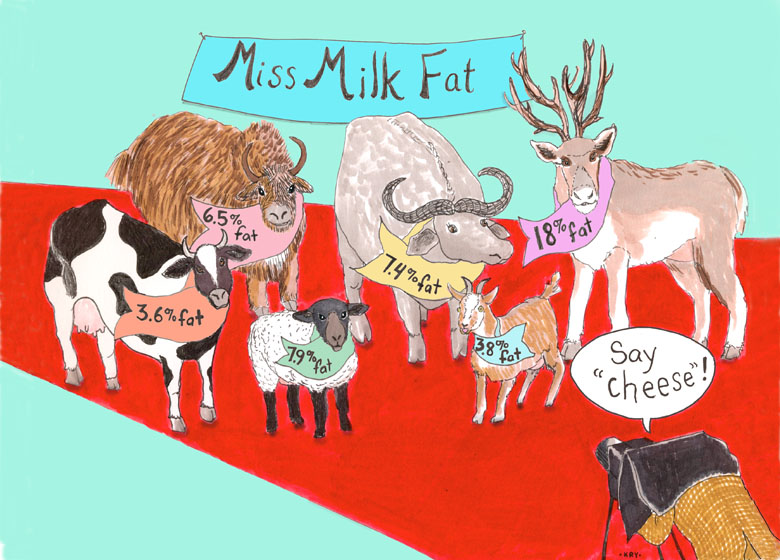
Many animals create milk, but milk used in commercial cheese making generally comes from cows, sheep, and goats. Some varieties of cheese are made with water buffalo, yaks, moose, and reindeer. Yeah, you read that correctly—reindeer! All of these creatures produce milk to feed their young. Because the needs of those young are different, the concentrations of water, proteins, lactose, and fat vary.
Most of what’s in a glass of milk is water, regardless of the species the milk came from. Suspended in that water is a mixture of proteins, lactose, and fat globules all too small for you to see with the naked eye. This mixture of molecules is what gives milk its color.
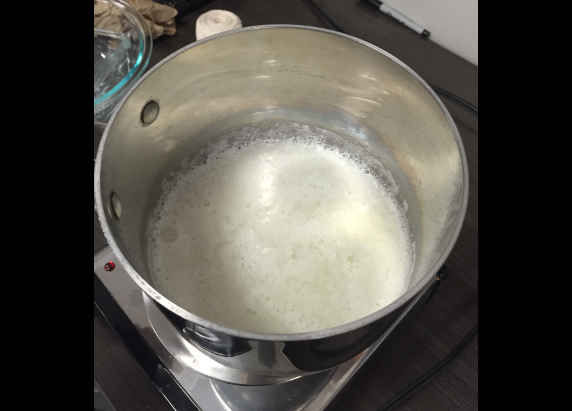
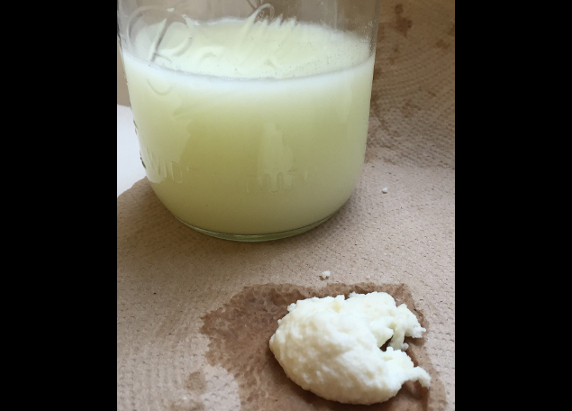
To make cheese, the environmental conditions of the milk must change to facilitate a chemical reaction. As a result of the reaction, milk is separated into two parts: curds (solid) and whey (liquid). This stage is common to all cheese making, and it’s a great place to evaluate which milks are best to make cheese with. Some people stop at this point and enjoy eating the curds, or they process it further and create a block or ball of cheese to enjoy.
Without curds, you cannot make a good cheese. While making your cheese curds, try to answer the following questions:
- How do differences in milk composition (fat, protein, and sugar) affect cheese curd formation?
- What components of milk end up in the cheese curds?
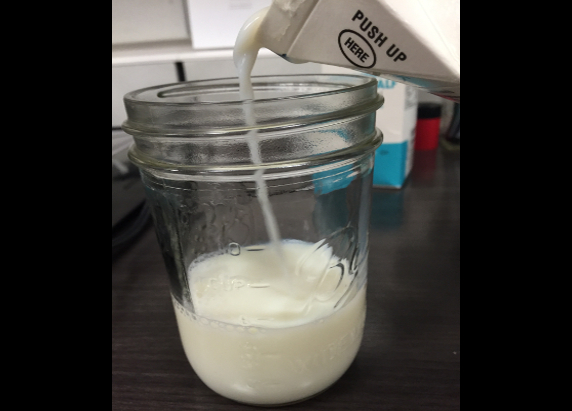
Let’s create and compare curds!
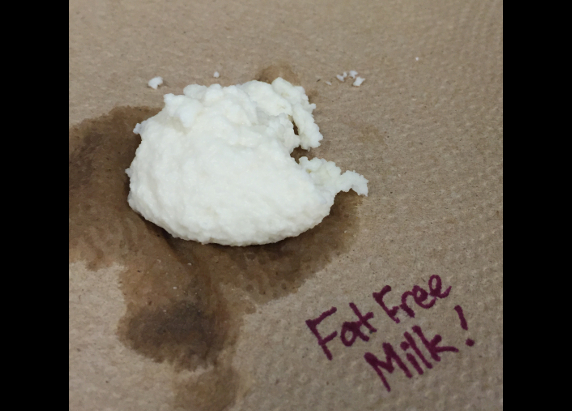
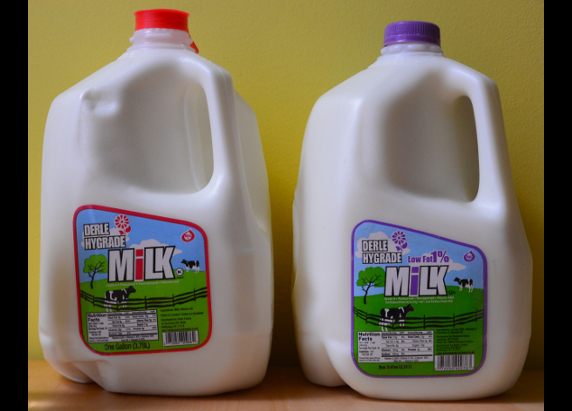
To test how milk composition affects curd formation, you could use milk from different animals, although it’s sometimes hard to find a variety of animal milk types at the grocery store. Good news! You can also test milk from the same animal—like cows, for instance—if it comes in varying compositions (e.g. nonfat, 1%, or half & half). By comparing the curds produced with different kinds of milk, you can better understand how things like carbohydrates, fat, and protein affect curd formation.
Before you start:
- Collect information on the milk types you will be using in this experiment using the nutrition labels from each container. How many grams of protein, fat, and carbohydrate (sugars like lactose are carbohydrates) are in a serving of each type of milk? Note this in your Curd Observation Sheet.
- Review the observations you will be collecting while conducting your experiment.
- Use information from the milk nutrition labels and observation chart to develop a prediction: Which type of milk will produce the highest yield (mass) of curds? Explain why you made that prediction.
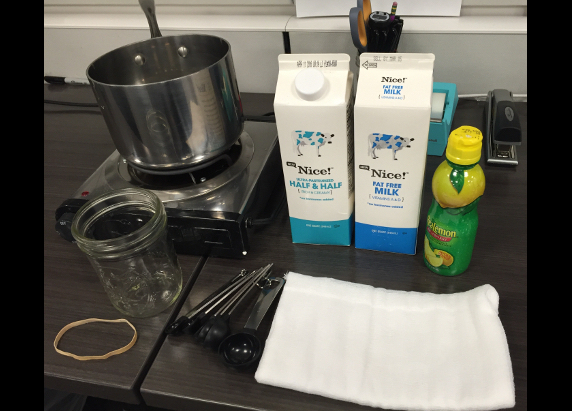
Materials per experimenter/group
1 cup of each type of milk (3-4 different varieties)
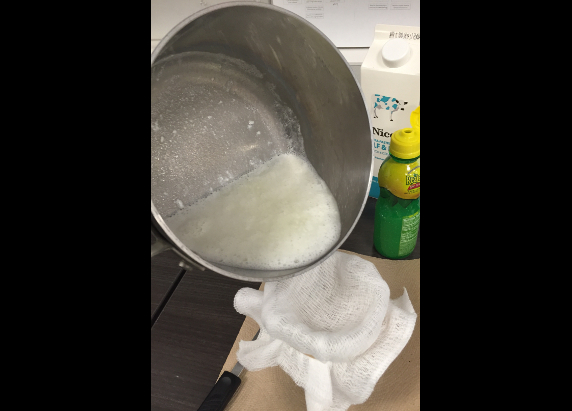
4-5 tablespoons lemon juice
Measuring spoons
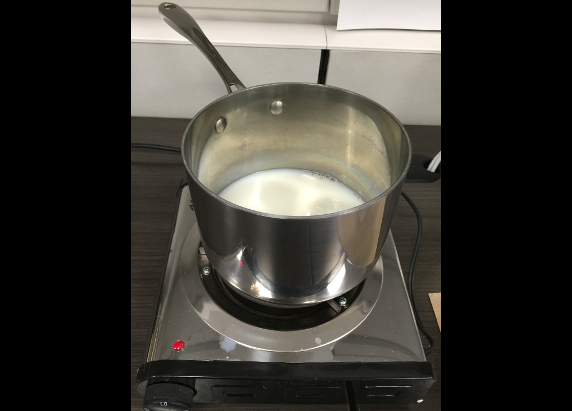
Small saucepan
Stove or hot plate
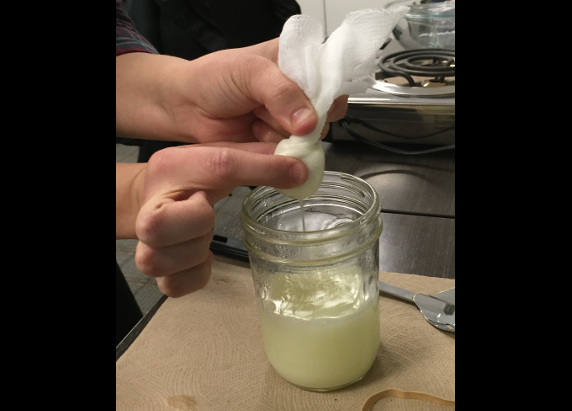
Cheesecloth
Glass jar (or bowl)
Rubber band
Several small plates or one large plate


Discussion Questions
- Describe how the differences between your milk types affected curd formation.
- Using your initial information from the nutrition label and your observations of curds and whey, which components (e.g. protein, fat content) of the milk affected how the curds came out?
- Which milk would you use to create cheese? Why? Use evidence from your experiment to justify your decision.
- What other questions does this experiment raise for you?
A Closer Look at Curds and Whey
In your experiment, you were able to separate the curds (solid) from the whey (liquid). Based on your observations, you may have already guessed that the fat content of milk affects curd formation. While fat plays a big role in the taste and consistency of the cheese, proteins also play a crucial role in cheese making. Both the curds and the whey contain proteins. In dairy milk, casein (KAY-seen) is a family of proteins that coagulate around lactose and fat in the milk and solidifies to form the cheese curds. So, why does casein solidify and produce curds while other proteins don’t?
It has to do with the unique properties of different proteins. All proteins are molecules made of a chain of smaller molecules called amino acids. Proteins have unique shapes and chemical properties based on the sequence of amino acids that are used to make them. The shape of a protein is determined by the order of its amino acids, and it ultimately affects the function of that protein. Casein proteins deliver minerals like calcium and phosphorus, which baby animals need to grow.
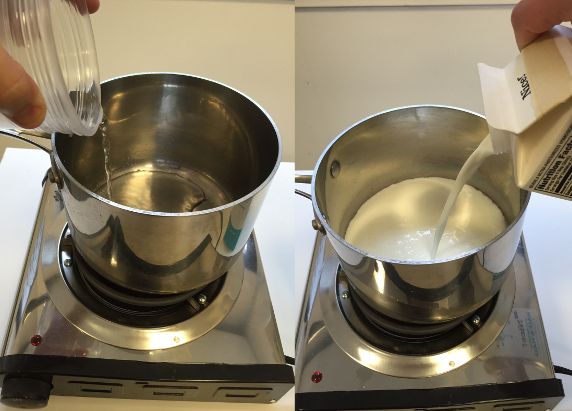
In a regular glass of milk, complexes of casein proteins called micelles are floating around. These complexes are negatively charged, so they repel each other. In your experiment, you heated the different milks up. You then added lemon juice, which lowers the pH of the milk because it is acidic, causing the casein complexes to change shape and also altering their charge. As a result, instead of repelling each other, the casein complexes coagulate, or clump together. As they coagulate, they capture fat and lactose along the way that get combined into a larger and larger solid, which we see as curds. Think of casein as a bundle of strings that gets tangled, and in the process catches other objects in it.
Explore More!
Research the following three processes used to make store-bought milk: homogenization, pasteurization, and ultra-pasteurization. What are they, and what does each do to milk? What happens to the proteins in milk as a result of each process? Which of those processes would interfere with cheese production the most? Explain using information about proteins and the curd-making process.
After Curds, Cheese!
In this video from Science Friday’s The Macroscope, watch how cheese curd is transformed into stretchy, moist mozzarella by Orazio Carciotto, the owner of Casa Della Mozarella, a world-famous Italian deli on New York City’s Arthur Avenue.
Make Stretchy Mozzarella.
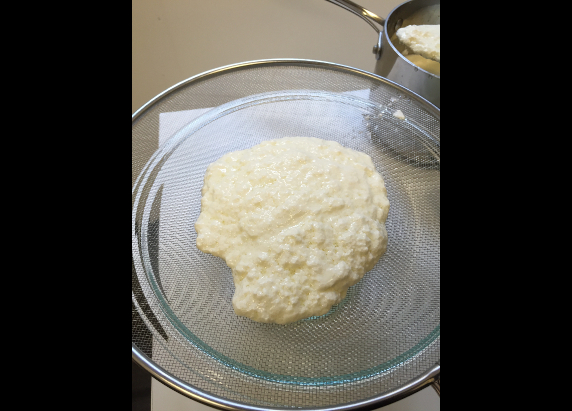
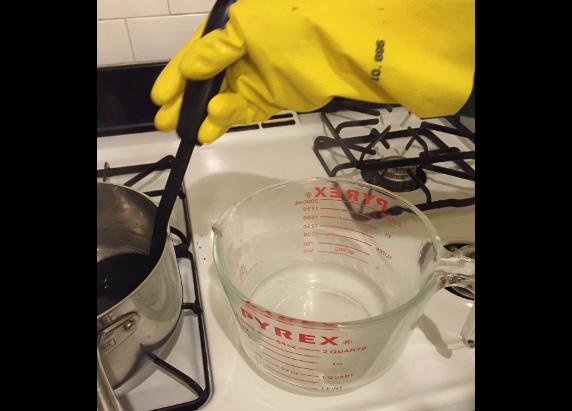
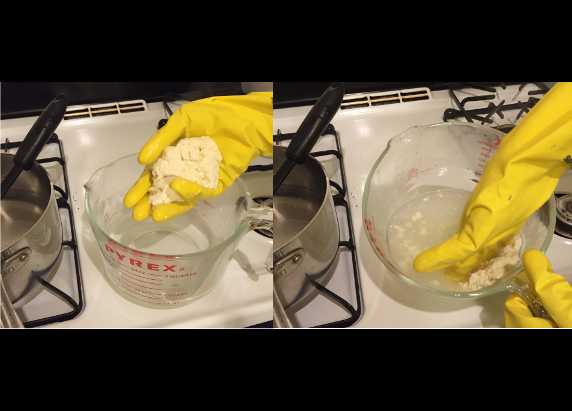
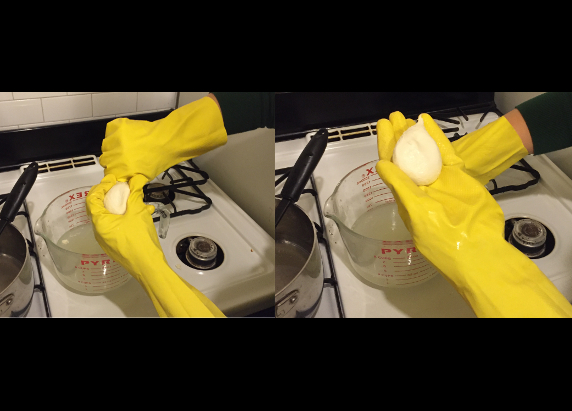
At the end of our first test, your curds probably do not resemble cheese. They do not melt particularly well or make for a great pizza topping. In order to move from curds to cheese, let’s manipulate those proteins.
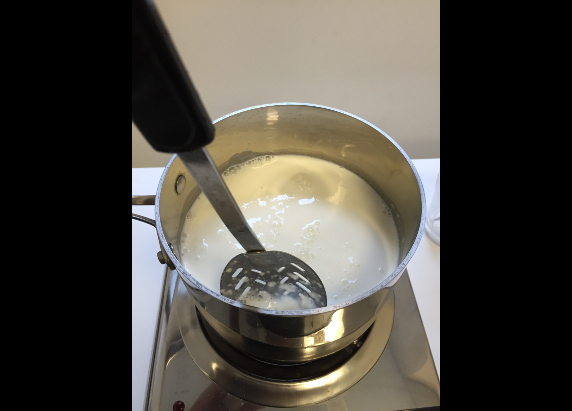
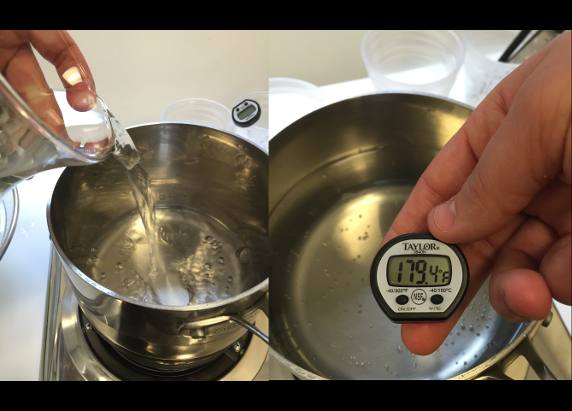
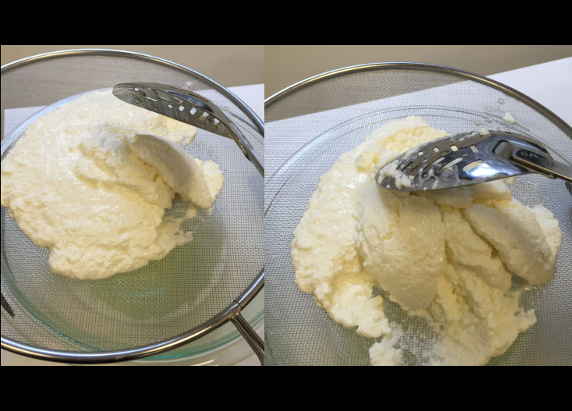
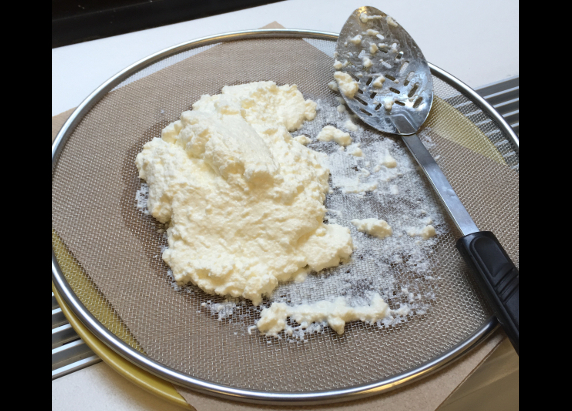
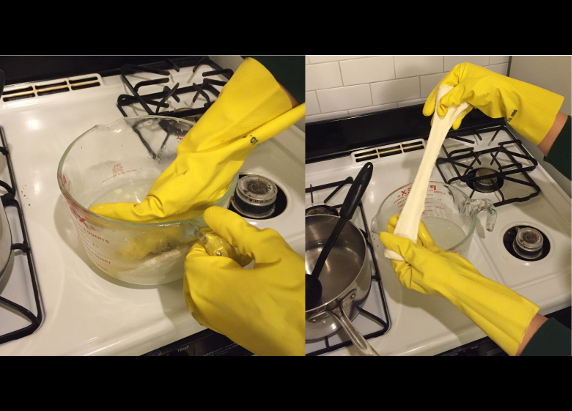
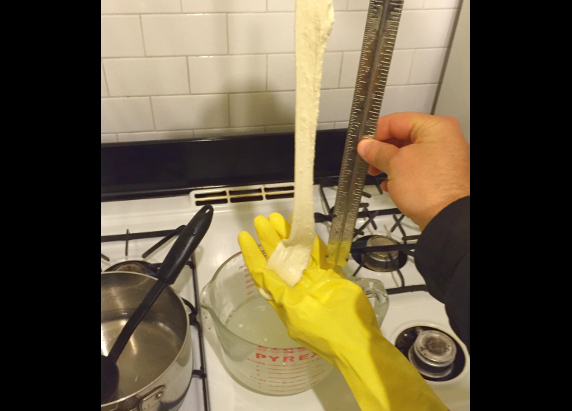
By further altering the pH of cheese curds and using a combination of slow heating and pulling, we can re-shape tangled masses of casein complexes (aka cheese curds) so that they are stretchy and gooey.
How does this happen? In our curd experiment, we learned that adding an acid causes casein proteins to coagulate. In mozzarella making, the addition of citric acid also creates the ideal environment for a protein called rennet, which cheese makers often use to create firm curds. Rennet is a special protein, called an enzyme, that causes the casein to coagulate. The acidity also favors the creation of longer strings of casein complexes. Those long strings have more stretch, perfect for a slice of gooey cheese pizza.
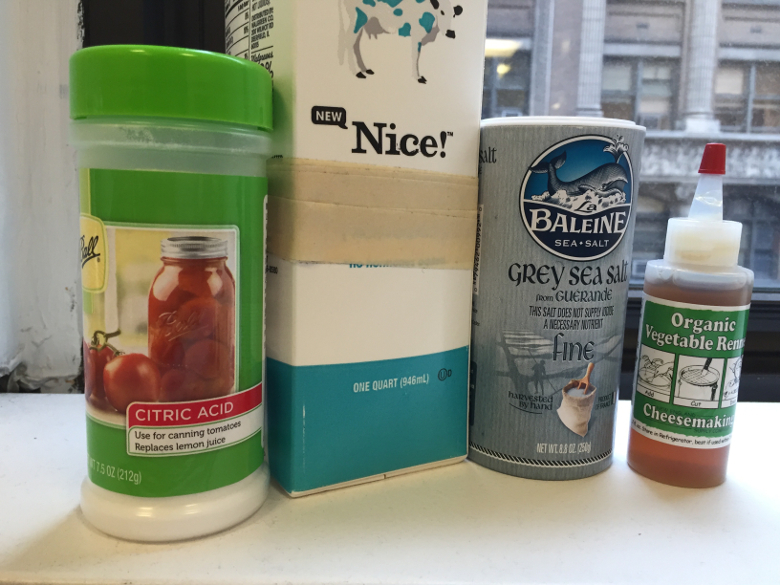
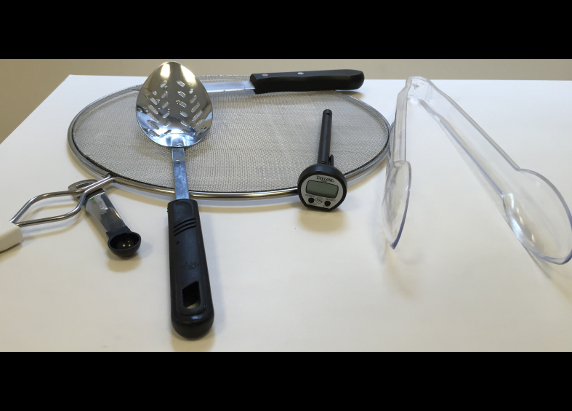
Materials per experimenter/group
1 quart milk
Citric acid solution (½ teaspoon powdered citric acid in ¼ cup cool water)
½ Rennet solution (¼ teaspoon liquid rennet in ¼ cup cool water)
¼ Teaspoon salt
Small pot (non-reactive)
Splatter screen or cheesecloth
Heatproof bowl
Slotted spoon
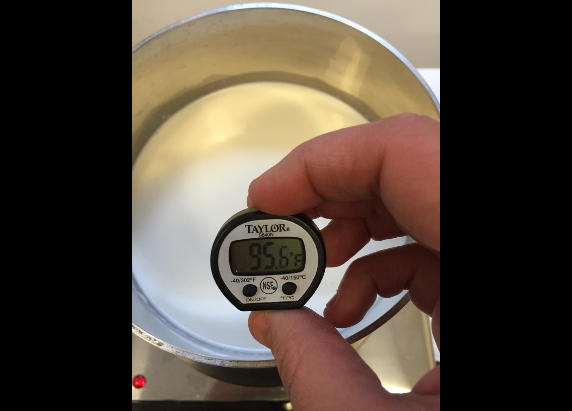
Instant-read thermometer
Knife
Thick kitchen gloves
Tongs
Paper towels

Extension: Mozzarella Redesign!
- Make a change: Based on your knowledge of milk, curd production, proteins, and mozzarella, make one change to either the materials or procedure of this experiment that you think will change the stretch of the mozzarella.
- Predict: How do you think your change to this procedure will change the stretch of the mozzarella? Explain what information helped you make that prediction.
- Run the procedure again and measure your outcome.
- Reflect on the change.
- If you could repeat it again, how would you alter the experiment?
- If you wanted to make the best pizza (very gooey), which procedure would you recommend people use? Why?
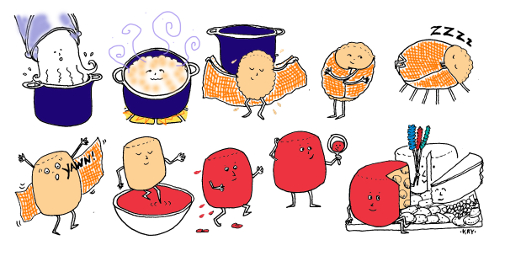
Illustrations were created by Karen Romano Young for Science Friday.
Educator's Toolbox
Meet the Writer
About Xochitl Garcia
@msxgarciaXochitl Garcia was Science Friday’s K-12 education program manager. She is a former teacher who spends her time cooking, playing board games, and designing science investigations from odds and ends she’s stockpiled in the office (and in various drawers at home).